Ever have one of those cards that just keeps getting more complicated? I had a long card session this afternoon and only managed to get one lonely card made! Here's my final card. This is for Diane's challenge called Two By Two and Side by Side inspired by a sister's study whose logo features pink and purple. I thought this image would be perfect for the challenge.
Sunday, October 5, 2014
Friday, October 3, 2014
Stripping Down
Today's Hope You Can Cling To Challenge is called Stripping Down. Holly asked us to use strips on our backgrounds. I keep bags of my strips over by my tabletop cutter. For this challenge I pulled out strips in two color schemes.
| The beauty of making "strip" cards is that the strips can be any width or length. I ended up going with all browns and creams instead of the blues and the other is pinks greys and silver. |
| I use my glue stick to coat the area I want to cover. |
| I line up the strips along one edge and let the other side hang over the edge of the piece of base card stock. |
| Once I have my area covered, I flip over the base and snip off the excess of the strips. |
| Here's the pinks version. I left an area free of strips for my sentiment and glued a white die cut over the top. |
| I made this one with the strips vertical at first but when I saw the picture I decided to flip the tree the other way. |
| I added some scoring to frame the strips piece and used a piece of polished stone paper to cut my sentiment. |
Mixed Multiple Pumpkins
I couldn't resist playing along with the Mixability and Free for All Challenges today though I'll still make a card for the Hope You Can Cling To Challenge later. Here's the final card.
Stamps: Truly Grateful, Craft Smart-pumpkin Paper: Kraft, Pumpkin Pie, Black, Watercolor paper, placemat Paper Size: A2 Ink: Stazon Black, Old Olive, Pumpkin Pie, Soft Suede, MS chalk inks Accessories: Bronze Sharpie Marker, Old Olive and Pumpkin Pie markers, Paintbrush, Spritzer, 2 1/2" circle punch, squash tendrils, Tombow MonoMulti, Sponge Techniques: Watercoloring from ink pad lids, Masking, Spatter, Sponging
Read more:
Read more:
| I flicked some spatter and Bronze onto my image panel as well. I wish I'd masked over it when I went to flick onto my upper sentiment as I got a rather large trail of bronze going across my panel. :( I used some dried squash tendrils as accents. |
Wednesday, October 1, 2014
Hope You Can Cling To Day ONE!!!
And we're off! The first three Hope You Can Cling To Challenges were posted today. I've been scrolling through the gallery adding comments and WOW....we're off to a good start already. I had cards made for the three kickoff challenges so here we are!
Lydia kicked us off with a paper tole technique challenge. Here's a close up of my raised elements....lots of fussy cutting going on here as well as some metallic accents with markers, liquid pearls and stickles.
Are you playing along with us? Come check out the challenges here. If not, you're missing out on the chance to lift the spirits of women battling breast cancer at MD Anderson and also on more than $5000 in prizes from your favorite crafty companies. So what are you waiting for? Get to stamping!
Lydia kicked us off with a paper tole technique challenge. Here's a close up of my raised elements....lots of fussy cutting going on here as well as some metallic accents with markers, liquid pearls and stickles.
| The finished card.Stamps: Stampendous-Deco Lady, Tim Holtz-Life's Possibilities, Michael's-Music Notes Paper: Soft Suede, MME dp, Very Vanilla Paper Size: A2 Ink: Versafine: Onyx, Smokey Gray, Sepia Accessories: Sharpie Bronze Marker, Silver Smooch Paint, Buttercup Liquid Pearls, Dazzling Details Silver Sparkle, Studio G Glitter Glue, Stampin' Dimensionals, Lace, Twine, Silver Cord, Cutter Kit Distressing Tool Techniques: Paper Tole, Distressing Read more: http://www.splitcoaststampers.com/gallery/photo/2563753#ixzz3ExDGGCXE |
| While I had my Deco Lady stamp out, I decided she might look cool on this black bg I had and her stars would fit Lori's Shine On challenge. Stamps: Quick and Cute, Stampendous-Deco Lady, Tim Holtz: Life's Possibilities, Michael's-Music Notes Paper: white, black Paper Size: A2 Ink: Versamark, Versafine Onyx Accessories: Brayer, White and clear ep, Glitter taper, Dazzling Details Silver Sparkle Techniques: Brayering, Embossing Read more: http://www.splitcoaststampers.com/gallery/photo/2563864#ixzz3ExCrDZEs |
| Last card for today was for Dina's challenge to use something with a handle...just had to go with umbrella man, and in honor of Dina I used a work surface protector sheet and went with a mixed media technique!Stamps: See Ya Later, Music Note wheel, Artifacts Paper: Marina Mist, Daffodil Delight, white, black, TPS-Kraft dp Paper Size: A2 Ink: Soft Suede, Versafine Onyx, various on my scrap piece, Tsukineko-Eucalyptus spray, MS chalk ink Accessories: QuicKutz-Sun die, Tim Holtz-Umbrella Man die, Ranger-Weather Vane paint dauber, spritzer, sponge, dry wall mesh Techniques: Dripping, Sponging Read more: http://www.splitcoaststampers.com/gallery/photo/2562923#ixzz3ExCXRVBd |
Tuesday, September 30, 2014
Getting Excited!!!
It is the last day of September!!!! Know what that means? Tomorrow starts the month long feast of challenges and the awesome card drive for breast cancer patients. Really looking forward to the Hope You Can Cling To challenges at splitcoaststampers this year especially both because I'm more involved as a hostess for one of the challenges, and because my mom's breast cancer journey continues. Hope you'll join along. I'm going to give you a teeny sneak peek of a couple of sample cards I've made just to whet your appetite!
And here's the main motivation behind my involvement...pardon the poor picture quality. Mom and I had a stamping day together a while back and this is the only picture I have of our time.
Friday, September 12, 2014
Spritzed Scribbles
Here's my first card.
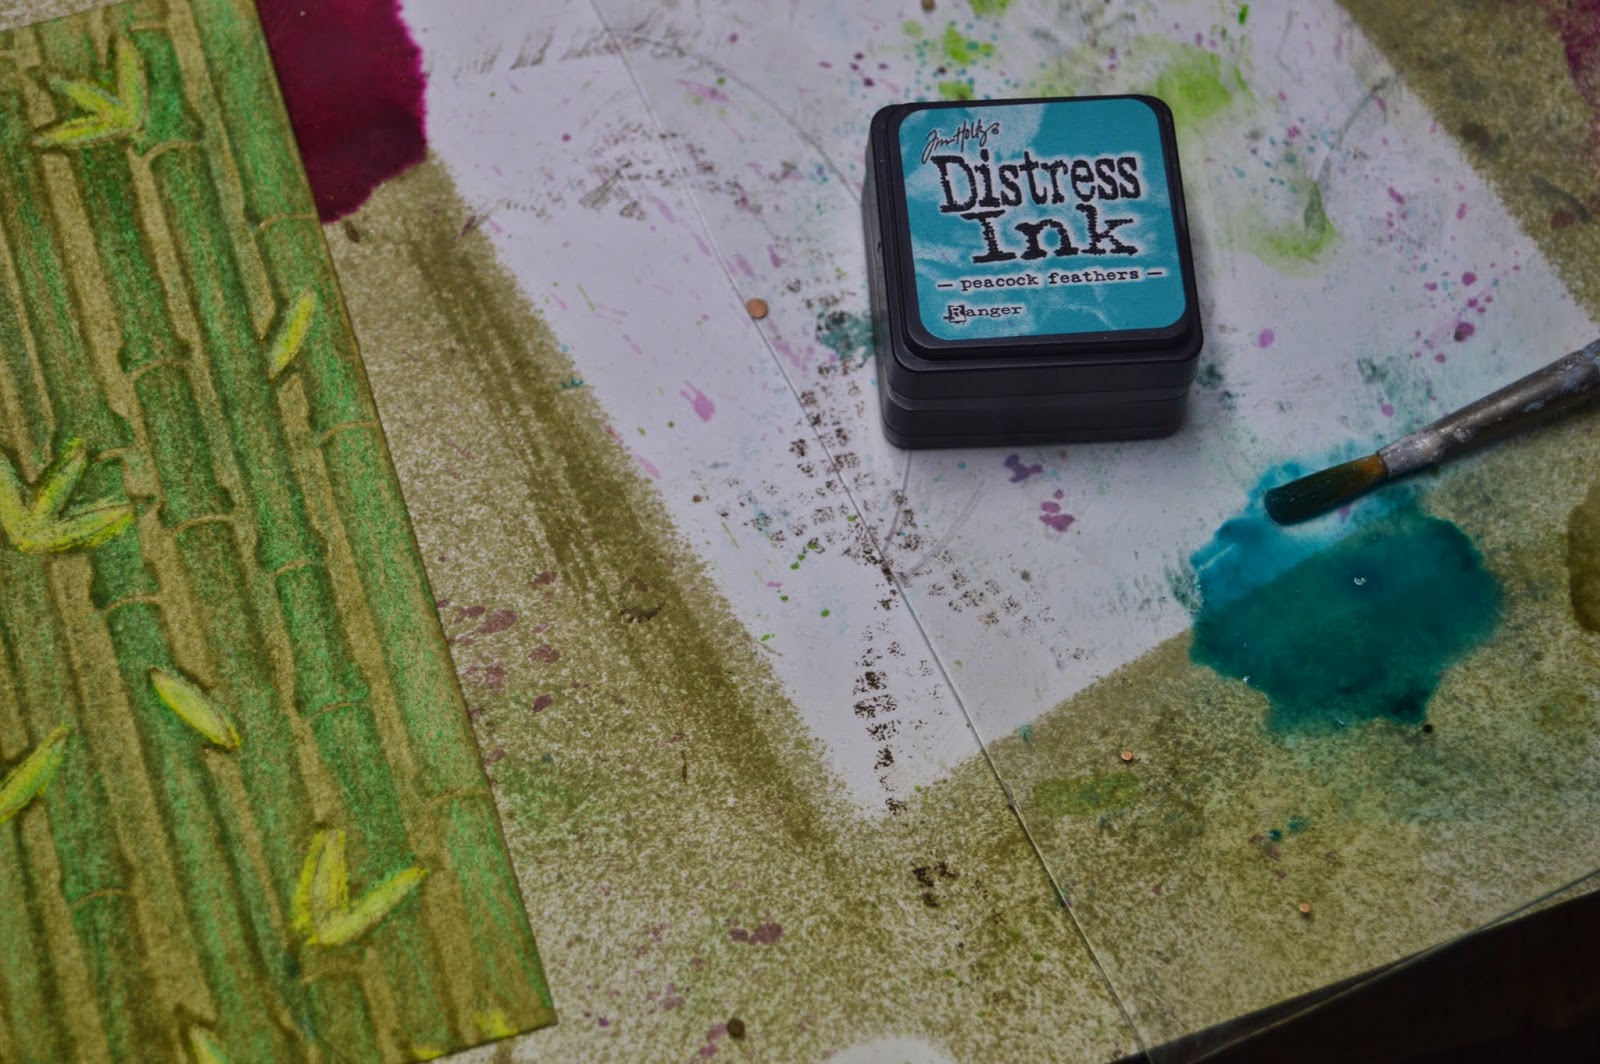
| I embossed my watercolor paper with the ef and then used crayons to color the embossed parts. I used the side with the stems raised. |
| I spritzed over the top with Walnut Ink |
I used a semi-dry wipe to clear off the ink.
|
| Here's a closeup of the final look. |
| Round 2-starting to add the crayon |
| Painting in the blue |
| Card #2 which will go to my dragon-loving about to be 14yo son. |
Friday, September 5, 2014
Left Handed Doodling
Whew, sometimes challenges are really challenging! Today for the Mixability Challenge at splitcoastampers Dina asked us to doodle with our non-dominant hands! I was hanging with my youngest DD who was still doing school and used what I had right handy (pardon the pun) which was index cards and a fine point pen. My first piece started with a tree I copied from the cover of a book, What On Earth Am I Here For? I freehanded the tree and leaves with my right hand, then added my bark doodling with my left.
I'm glad I chose bark for my doodling as you can see my hand wasn't real steady! I used Gelatos to color most of the leaves and a metallic Sharpie for the rest.
I used brown acrylic paint to color my tree and it sort of covered up all my hard work....so, pulled the pen out again to add the "bark" back to the tree!I think my hand got a bit of brown paint as well!
Subscribe to:
Posts (Atom)