Pages

Sunday, July 7, 2013

Mask Up A One Layer Card

     I'm so excited to be on the CAS Challenge Summer Design Team. This week's challenge is a technique challenge to use masking and make a one layer card.  I just got some new SU goodies and thought the hostess set Simply Sketched would work great for this technique. 
The finished cards.
Stamps: Simply Sketched, French Script
Paper: Natural White
Ink: Versamark, Smoky Slate, Soft Sky
Accessories: Markers: Cherry Cobbler, Pear Pizzazz, Old Olive, Rose Red and Versamarker, Stamp-a-ma-jig, Paint brush, Sponge, Occasions Piercing Guide, Piercing Tool, Clear Embossing Powder
Techniques: Masking, Sponging, Piercing, Embossing, Marker Layering

Read more: http://www.splitcoaststampers.com/gallery/photo/2393887#ixzz2YPpPOUtX

Here's a series of pictures showing the progression of my design.
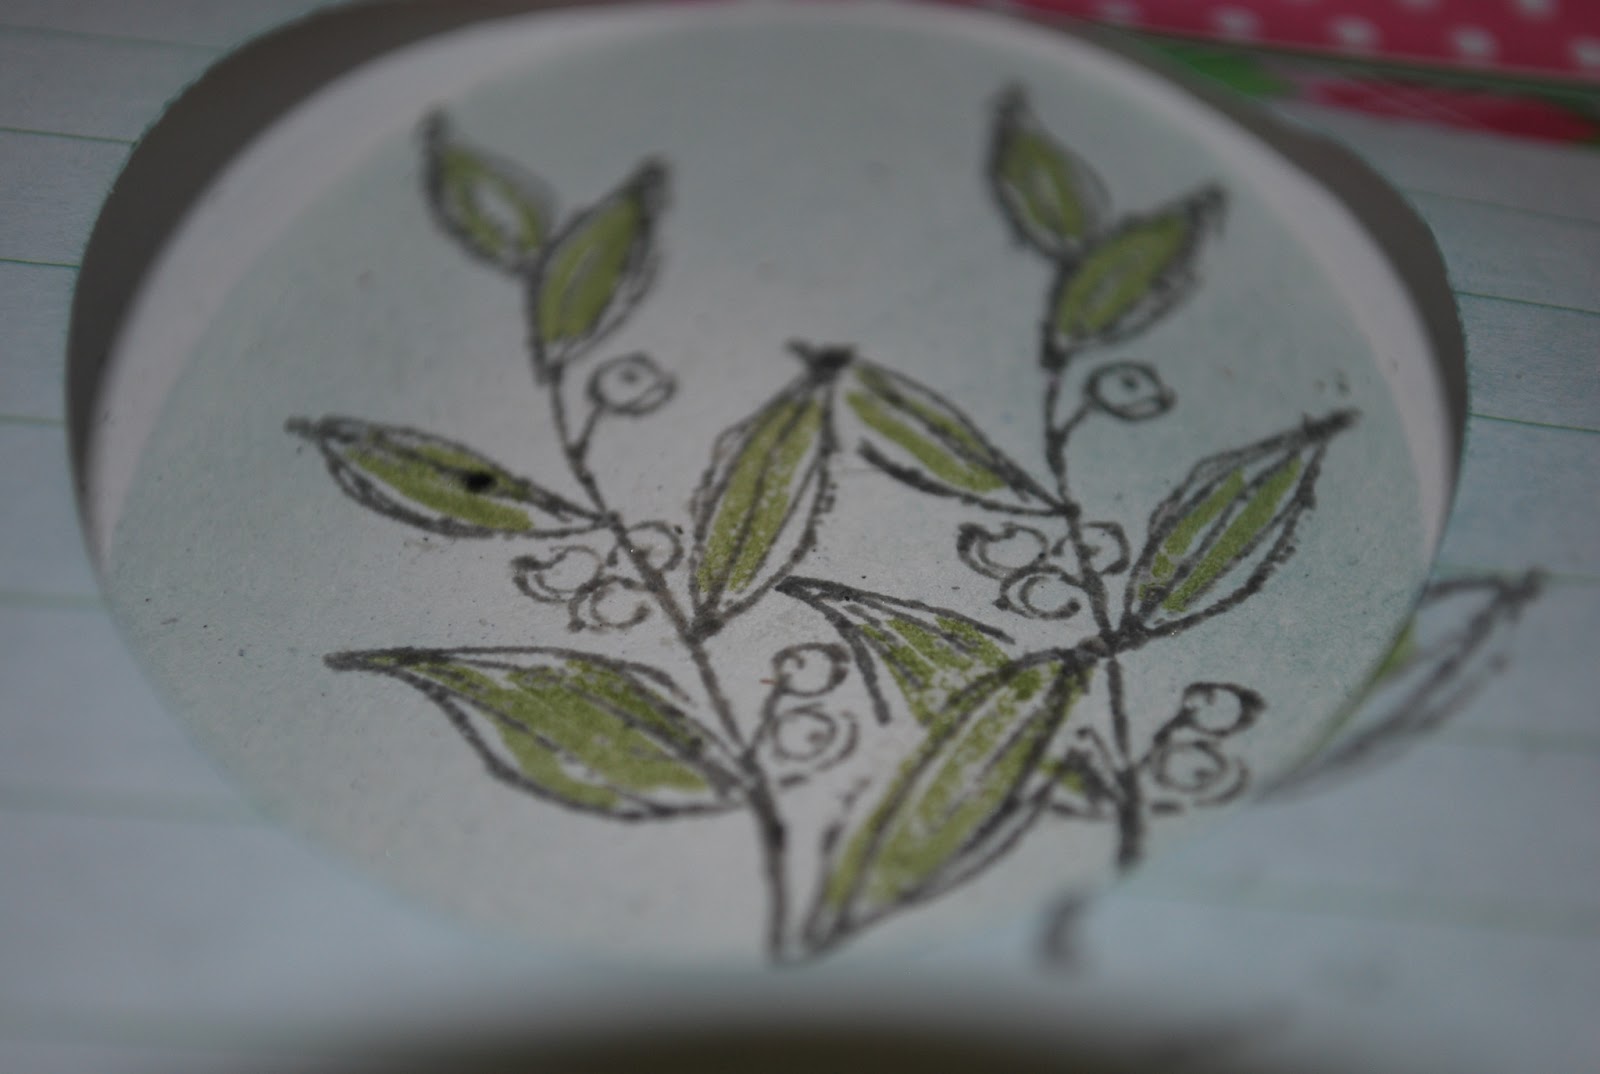
I started by cutting the oval, reverse mask and sponging the Soft Sky. I stamped my first image then masked over it.

I had stamped with Versamark and Smoky Slate then embossed with clear ep.

I used the marker layering technique to color my leaves. Here is the first layer of Pear Pizzazz.

Second layer is Old Olive.

I used a wet brush to blend the paints a bit.

First layer on the berries was Rose Red.

I colored onto a piece of acetate with a Cherry Cobbler marker then used a wet brush to add this color onto the berries.

With the mask in place, it is hard to get enough pressure to add the script so I laid my inked and stamped off bg stamp onto my desk and laid the image over that. I could then add pressure over the oval area to pick up the script stamping.

Here's what it looks like with the mask still in place.


When I'm making a one layer card, I like to use my          Stamp-a-ma-jig for the placement of my sentiment to make sure I don't end up with a boo boo that I can't simply cover with another layer!

I went back and added the last step in the marker layering, using a Sahara Sand marker to add depth around the leaves. I also sponged some more Soft Sky around the edges and corners of the card.

Another way to add some interest on a one layer card is to add some piercing. I used the Occasions piercing guide to accent my sponged and stamped oval. My guide wasn't quite the same size as my oval however, so I ended up adding a second round of piercing to even out the look.

Tuesday, July 2, 2013

TWISTED TRADITIONS

Fun technique challenge this week to twist tradition by taking traditional holiday colors and using them to make a non-holiday card.
Used 4th of July colors to make a nautical themed card. I love the deep embossing I get with the M-Bossabilities embossing folders. I copied the shape of a sailboat stamp to make a punch art boat.
Stamps: M.E. sentiment
Paper: Whisper White, Early Espresso, Cherry Cobbler
Ink: Cherry Cobbler
Accessories: M-Bossabilities: Asian , anchor ribbon, 1 3/4" circle punch
Techniques: Dry Embossing, Punch Art

Read more: http://www.splitcoaststampers.com/gallery/photo/2390998#ixzz2XuIRX3ar

A baby card in Valentine's Day colors. I used a home made circle stencil to sponge my red and pinks then added a sticker and a fork bow in gingham ribbon.
Stamps: none
Paper: Melon Mambo, Whisper White
Ink: Pixie Pink, Melon Mambo, Pink Pirouette, Blushing Bride, Real Red
Accessories: Homemade circle stencil, Me & My Big Ideas Sticker, Gingham Ribbon
Techniques: Fork Bow, Sponging

Read more: http://www.splitcoaststampers.com/gallery/photo/2391805#ixzz2XuIeAT7S
 

This one uses the colors of St. Patrick's Day for a sympathy card. Another quick card using a gelatin plate print.
Stamps: Warmest Regards
Paper: So Saffron, Glorious Green, White
Ink: Pear Pizzazz
Accessories: gelatin plate, acrylic paints, Martha Stewart Stencil, Modern Label Punch
Techniques: Gelatin Plate Printing

Read more: http://www.splitcoaststampers.com/gallery/photo/2391810#ixzz2XuJ8KrMG
 

Acrylic Smear Fireworks

I missed last week's Mixability Challenge which was to use a credit card to smear paint onto a card. When I saw today's color challenge was red, white and blue I had an idea which would meet both challenges. I used glossy acrylic paint onto blue backgrounds to create my fireworks.
Stamps: Polka Dots And Paisley, Inkadinkado-Artstamp Large Numbers
Paper: Whisper White, Real Red, Night of Navy, Brilliant Blue
Ink: Whisper White Craft
Accessories: Glossy Red and White Acrylic Paints, Credit Card, White Embossing Powder
Techniques: Embossing

Read more: http://www.splitcoaststampers.com/gallery/photo/2391760#ixzz2XtkoDOBj

I simply dropped a blob of paint and used the credit card to pull lines of paint out from the central part. I initially smeared the paint, but found the pulling made a more distinct line as what you would see in a fireworks display.

As you can see, my technique had improved by the time I did the reds!

Tuesday, June 25, 2013

Wood Grain Wonderfulness!


I'm a big fan of wood grain and I've loved using the technique in this tutorial from Kim Teasdale in the past so when I saw our Round 2 challenge for the CAS Summer Design Team Search was to create a woodgrain on our card, I knew I wanted to use it.  I added some paint with paint daubers at the end as I wanted my wood to have that bleached out driftwood feel to it.
Here's the final card with the torn wood grain piece, stamped and sponged sand dollar, burlap, and torn and sponged bg.
Stamps: Nature's Wonders, Our Daily Bread Scripture Collection 1
Paper: Baja Breeze, Sahara Sand, Whisper White
Ink: Sahara Sand, Going Grey, Basic Grey, Close to Cocoa, Soft Suede, Baja Breeze
Accessories: Paint Daubers: Adirondak SnowCap and Espresso Ranger Weather Vane, Sponge, Markers: Basic Grey and Early Espresso, Burlap
Techniques: Faux Wood Grain, Sponging

Read more: http://www.splitcoaststampers.com/gallery/photo/2389091#ixzz2XI5dAkh1

 
First layer of ink applied to the Sahara Sand piece was Sahara Sand smeared using the direct to paper technique.


Going Grey for the 2nd layer of ink.
Basic Grey was next.
Close to Cocoa was the last ink layer.
Ranger Weather Vane paint going on.
After the Weather Vane has been applied.
Adirondak Espresso was next. You can see where I've made some circular areas over some areas that were splotchy after the ink....these will be areas for swirls or knot holes to add to the wood grain.
I went back over the circular areas and added more softness with Adirondak Sno Cap.
Last step was to go back with a marker to add more distinct lines and whirls. If it gets too distinct for your taste, take a wet brush to soften it or just daub or smear ink right over it. The best part of making faux wood grain is how forgiving it is!

Here's another I made with the leftover piece!
 
Stamps: Music Notes Wheel, Stampabilities-Feel Better Soon
Paper: Kraft, Dictionary Page, Vanilla, Sahara Sand, Baja Breeze, Real Red
Ink: Soft Suede, Versamark, Sahara Sand, Going Grey,Basic Grey, Close To Cocoa
Accessories: Paint Daubers: Adirondak SnowCap and Espresso, Sponge, Markers: Basic Grey and Early Espresso, Tim Holtz Bricked ef, Square Lattice ef, 2 1/2" circle punch, corner rounder punch, Gingham ribbon, rhinestone brad, sponge, Early Espresso Embossing powde
Techniques: Dry Embossing, Embossing, Faux Wood Grain, Sponging, Brad Bow

Read more: http://www.splitcoaststampers.com/gallery/photo/2389556#ixzz2XO1prqgN

Clean and Simple

I don't know about you, but I find clean and simple to be anything but simple to pull off sometimes!  I love the look though and I find the challenge to create CAS cards well worth the effort.  Here's a few I've put together this week.
This one was made for this week's CAS challenge which was a pinterest photo inspiration in these fun bright colors. I don't often use oranges, but I like the look of my Pumpkin Pie base on this one.
Stamps: A Little Love, Bloomin' Marvelous
Paper: Pumpkin Pie, Real Red, Whisper White
Ink: Early Espresso, Versamark, Real Red
Accessories: Clear ep, Perfect Polka Dots ef, Scoring Board, Markers, Stampin' Dazzle Silver Marker, Glitter Pen
Techniques: Dry Embossing, Embossing

Read more: http://www.splitcoaststampers.com/gallery/photo/2388467#ixzz2XGQNQ62j
I'm tossing my hat in the Summer Design Team Search for the CAS challenge and this is my card for the first round. The theme is a lobster bake with this photo collage as the main inspiration and the colors: Red, Navy or Aqua, Yellow and White as our marching orders. The beach/summer theme brought this image to mind and I loved the table cloth in the picture so I just had to bring some gingham! I sponged my sky, used markers on the hat, ribbon, and flowers and used a QTip with Pastels for the skin and dress. I purposely kept the coloring minimal to add to the clean look of the card.
Stamps: Summer by the Sea, Bloomin' Marvelous
Paper: Whisper White, Midnight Muse
Ink: Stazon Timber Brown, Midnight Muse, Tempting Turquoise
Accessories: Corner Rounder Punch, Markers (Real Red, So Saffron) Pastels (Night of Navy, Blush Blossom), Cloud Moon & Stars Template, Sponged, Red Gingham Ribbon
Techniques: Sponging

Read more: http://www.splitcoaststampers.com/gallery/photo/2387918#ixzz2XGQzuFFe

Saturday, June 22, 2013

Muted Mixed Media


      I've been out of the stamping room for a few days with an out of town wedding and then right back home to VBS preparations. I took time today to play along with two challenges on splitcoaststampers.  I CASEd this pretty card for the Queen for the Day challenge honoring Lori aka saintsrule. I also tried out a new to me technique from the Mixability challenge. You can check out the awesome tutorial from Kyra Sanders.
Here's the final card.


Stamps: Canvas by Stampin' Up, Stampendous Jumbo Peony, Stampabilities-Trust in the Lord
Paper: Kraft, Garden Green, Natural White
Ink: Melon Mambo, Gumball Green, Garden Green, Sahara Sand, Gesso, Adirondak snowcap paint dauber
Accessories: Rose Red seam binding, Linen Thrread, Eyelet, Button, Cutter Kit Distressing Tool,
Techniques: Brilliant Pastels

Read more: http://www.splitcoaststampers.com/gallery/photo/2387741#ixzz2WzgH7o8z


I started by smearing ink directly onto a piece of acetate.
I then spritzed liberally with water.
After laying my paper directly onto the ink, I dried with my heat gun then stamped over the ink. Note how bright the colors are at this point. If this were the look I was going for it would be good to go, but I wanted a much more muted effect.
So, I took matte white Gesso and applied it over the whole piece with a credit card.
I sponged some Sahara Sand along the edges and stamped over the whole piece with the Canvas bg stamp in Sahara.
I smeared some acrylic paint over the area where I was going to add my sentiment. After I stamped the sentiment, I went back over the area with the Canvas bg stamp again.

Wednesday, June 12, 2013

Sketch Challenge Time Again!

It is fun to see just how versatile a sketch can be when you play around with it! I love using split card backgrounds so I knew I'd love the sketch from splitcoaststampers today!
For my first card, I went in a masculine direction when I saw this dp on my desk. I cut my piece then cut it in half and flipped one side over. I added some recycled chunky twine across the join. I used the repeated stamping technique to make it look like my horse is running across the card by stamping it full strength on the right hand side of the panel then stamping 3 more times without reinking for the effect. I embossed my sentiment in Early Espresso ep and sponged the edges in Soft Suede
Stamps: Wanted, All Year Cheer
Paper: SU dp, Early Espresso, Chocolate Chip, Natural White
Ink: Early Espresso, Soft Suede, Versamark
Accessories: Sponge, Clear and Early Espresso embossing powders, 1 3/8" circle punch
Techniques: Repeated Stamping, Embossing, Sponging

Read more: http://www.splitcoaststampers.com/gallery/photo/2383747#ixzz2W37qwUBn
Bought these pretty papers and tags the other day and thought they'd work well for the sketch. The paper reminded me of denim so I added that across the center.
Stamps: Vintage Labels, Silhouette Sentiments
Paper: Natural Ivory, River Rock, teresa collins-Damask dp
Ink: Not Quite Navy, River Rock, Soft Suede, Versamark
Accessories: Clear Embossing Powder, Scallop Circle and 1" circle punches, Vanilla Seam Binding, denim strip, K&Co tag
Techniques: Reverse Masking, Sponging, Embossing

Read more: http://www.splitcoaststampers.com/gallery/photo/2383802#ixzz2W381JMEY
Flipped the sketch and used the full tag this time. Used another denim accent and distressed and sponged the circle as well as sponging in Not Quite Navy around the tag.
Stamps: Circle of Friendship
Paper: River Rock, Whisper White, River Rock dp,
Ink: Not Quite Navy, River Rock
Accessories: K&Co Tag, string, Cutter kit distressing tool, denim, sponge, Recollection gold and Michael's white flowers, 1/4" white grosgrain ribbon, foam squares
Techniques: Distressing, Sponging

Read more: http://www.splitcoaststampers.com/gallery/photo/2383807#ixzz2W38xFVIQ
Couldn't resist making one more while the family watched TV that I wasn't interested in. Embossed a piece of foil that once sealed a coffee can and embossed my sentiment.
Stamps: ODB Scripture Collection 1
Paper: Baja Breeze, Cherry Cobbler, retired SU dp
Ink: Versamark
Accessories: Early Espresso embossing powder and 1/4" grosgrain ribbon, MBossabilities Reverence ef, corner rounder punch
Techniques: Dry Embossing, Embossing

Read more: http://www.splitcoaststampers.com/gallery/photo/2383866#ixzz2W3xFMFGE