

Aren't these a fun way to use Gelli plate prints! I wanted to load up some jelly beans and M&M's to put in my kids' Easter bags.
 |
| I cut the prints in 4 1/2"x 5 1/2" pieces. I gathered ink, coordinating paper and stamps to get ready. |
 |
| You'll also need a crimper and some strong adhesive tape (I used Scor tape since you don't need scissors to cut it). |
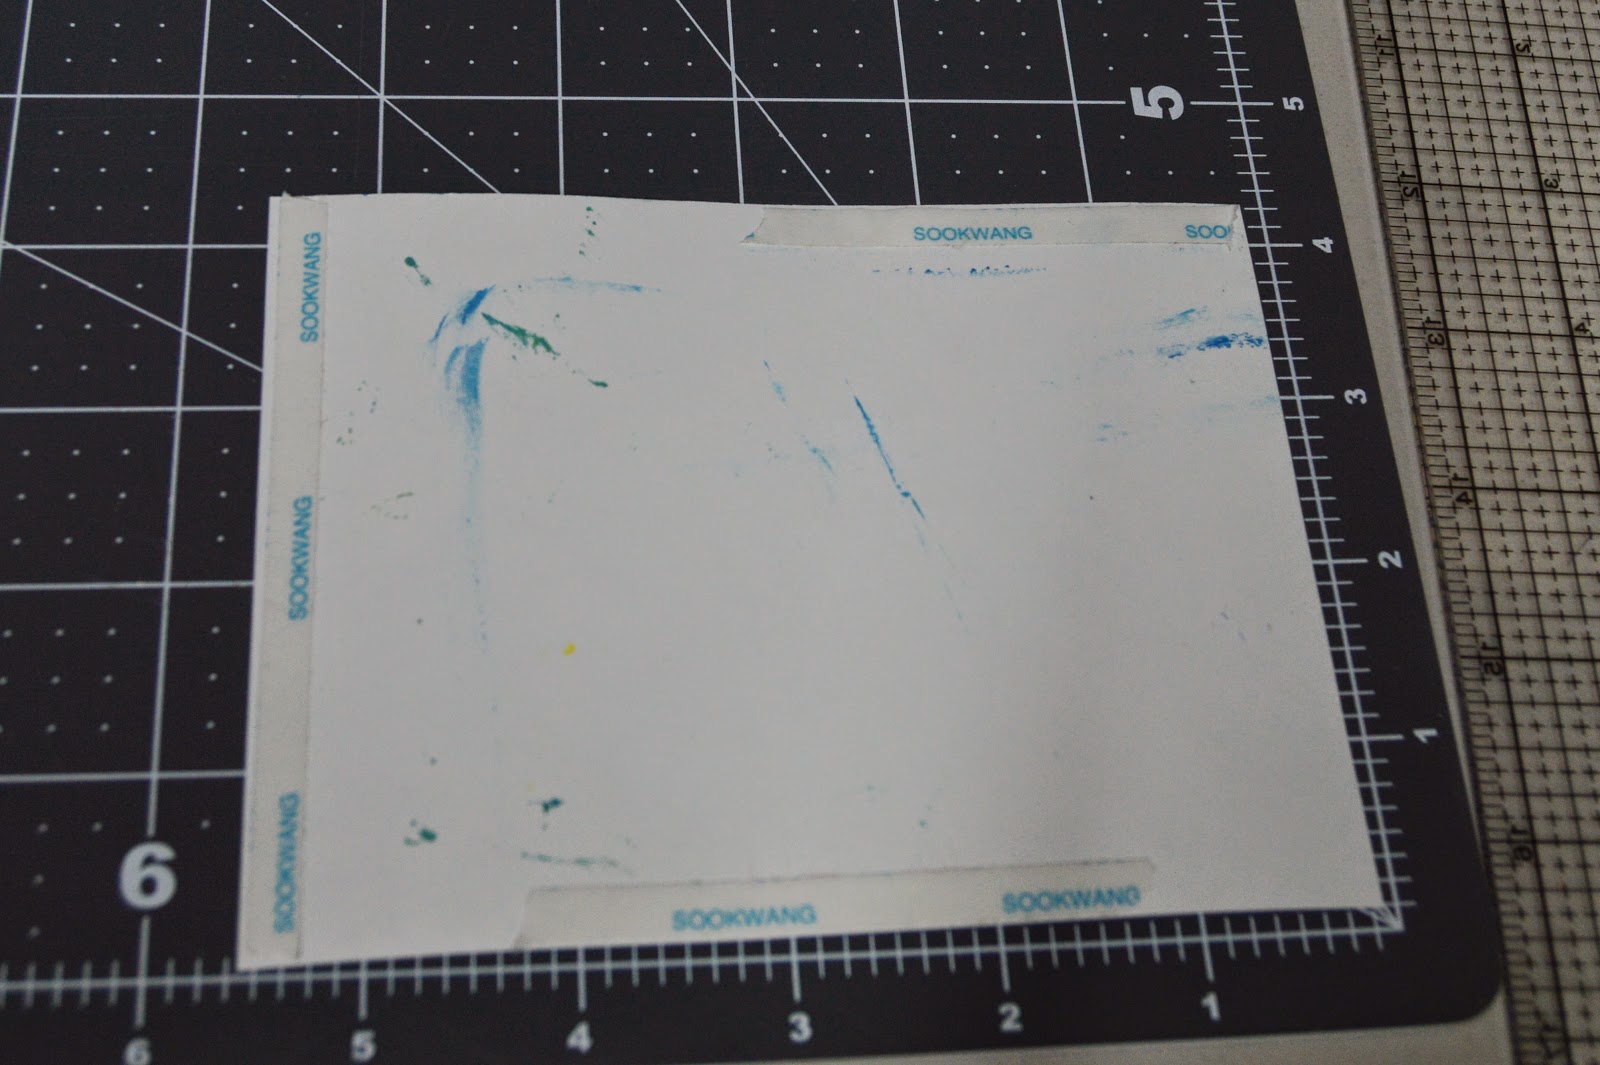 |
| On one of the short sides add tape along the edge. On one long side, put a piece of tape about 2 1/4" long across the center of the side. Add a piece the same length on the opposite long side in the corner opposite your other tape. |
 |
| Remove the protective paper from all the pieces of tape. Bring your opposite short side up even with the edge of your adhesive. |
 |
| I've turned this around in my hand unfortunately, but you're rolling the side with the adhesive over the print side of the piece you brought to the edge of the adhesive. With your thumb inside the roll, smooth down the top piece with a finger. |
 |
| Find the side with the tape across the middle and position it like this and then squeeze together. |
 |
| Place the glued end into the crimper and roll about 3-4 notches. |
 |
| Ready to fill! |
 |
| Once you've got your candy inside it's time to seal this side. Note that the adhesive side is perpendicular to the crimped bottom. |
 |
| Squeeze shut. |
 |
| Now crimp this end 3 notches. |
 |
| To help me get my ribbon in place, I added a bit of adhesive to the back side and laid the middle of my ribbon over this. |
 |
| I started my knot... |
 |
| I then pulled the ends through my slot. |
 |
| I pulled the knot through the slot and then tied the bow. |
Adorable! I might have to try some of these!
ReplyDeleteThanks Naomi-they're really easy once you get the hang of it!
Delete