I saw a beautiful technique while scrolling on Pinterest and just had to give it a try. It was a video from Blitsy Crafts. The purple color and use of bg stamp made me think about making an anniversary card for my daughter and son in law. I made their invitations using the Medallion stamp
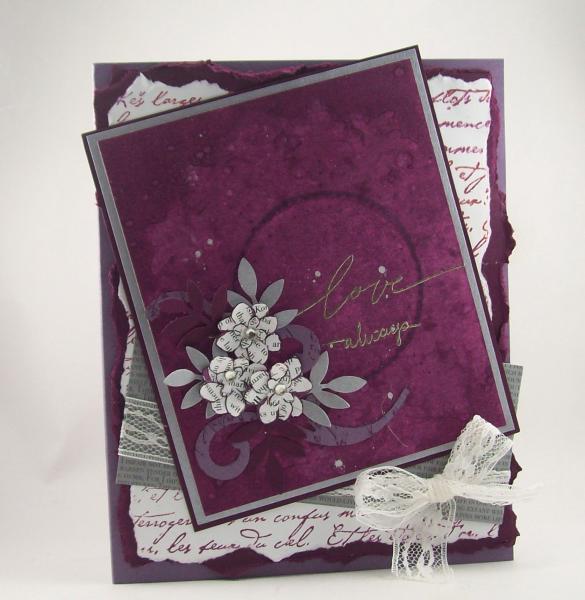
Here's the anniversary card I made for them.
Stamps: Medallion, French Script, Wonderful Words, Small Script Paper: Perfect Plum, Blackberry Bliss, Brushed Silver, Watercolor, White, Patterns Pack dp, Book page Paper Size: A7 Ink: Versamark, TH Distress Ink: Seedless Preserves Accessories: Rhinestones, Spritzer, Lace, Silver Ep, Paintbrush, Sizzix #10 Flourish, Stampin' Dazzle Silver Marker, MS Punches~Hydrangea and Frond, Markers: Wisteria Wonder, Blackberry Bliss Techniques: Water Stamping, Tearing, Embossing, Spatter, Direct To Paper
Read more: http://www.splitcoaststampers.com/gallery/photo/2645253#ixzz3fG84LCV8
I didn't take any pictures as I made it so I went back and made another panel to use on another card. (Pardon my messy hands~summer is the time when my passions collide as I'm spending lots of time with my hands in the dirt as I garden!) It starts with a piece of watercolor paper and a Distress Ink pad.
 |
| You're going to ink directly onto the paper til the whole piece is covered. |
 |
Here's the wet piece!
I took my heat gun to dry it before the next step. |
 |
| Use a spritzer to "ink up" your stamp with water. |
 |
| You want it nice and wet but not so soaked that you lose the detail. This is probably slightly wetter than I wanted. |
 |
| Lay it onto your paper and press firmly, holding in place to make sure you get a good saturation of the water. |
 |
| Here's a closeup of the finished card. I used some marker to add some detail back in to the waterstamping. |
I also used a wet brush to spatter some water drops and also shook a silver marker over it for silver spatter to match my silver embossing and silver paper accents.


No comments:
Post a Comment