Pages

Saturday, May 30, 2015

Stamp Etching Graduation Cards

Started this the other day and had a chance to finish this off today. It uses the colors from this week's color challenge as well as a fun technique with the mini flowers. I used the faux barn board technique for the back panel.

I discovered that the tiny flower from Your Perfect Day set makes a great center for the Itty Bitty Accents punched flower.

I stamp first then line up my punch around it.

This is using the stamp etching technique from Lydia's excellent tutorial. It adds nice depth to simple images. The key is to flick up from the center of your image. 


I liked keeping the lighter color in the center so I started my etching from a littler farther out.

I added a little shimmer with my gel pen.


I had embossed my diecut into my Olive panel and added some shimmery accents there too.

Here's the second card.

Tuesday, May 26, 2015

CASEing Brenda

I don't often play along in splitcoaststampers Featured Stamper Challenge as it posts on Sunday, but when I saw that this week honored Brenda/tessaduck, I just had to play along. I love her CAS sponged cards and picked two to CASE. 
Brenda's Green Leaves

Brenda's Welcome


I took elements from both these cards and used them to make two myself.
I went a little less CAS than Brenda on this one adding layered matting with the deckled edge. I also forgot that her card had the sentiment on the bottom ( I kind of melded her two cards in my mind I think) and added it along the side of the sponged area.

This one is a more direct CASE though again, I went for a bit more drama in the matting since today's color challenge dessert was to add black. 


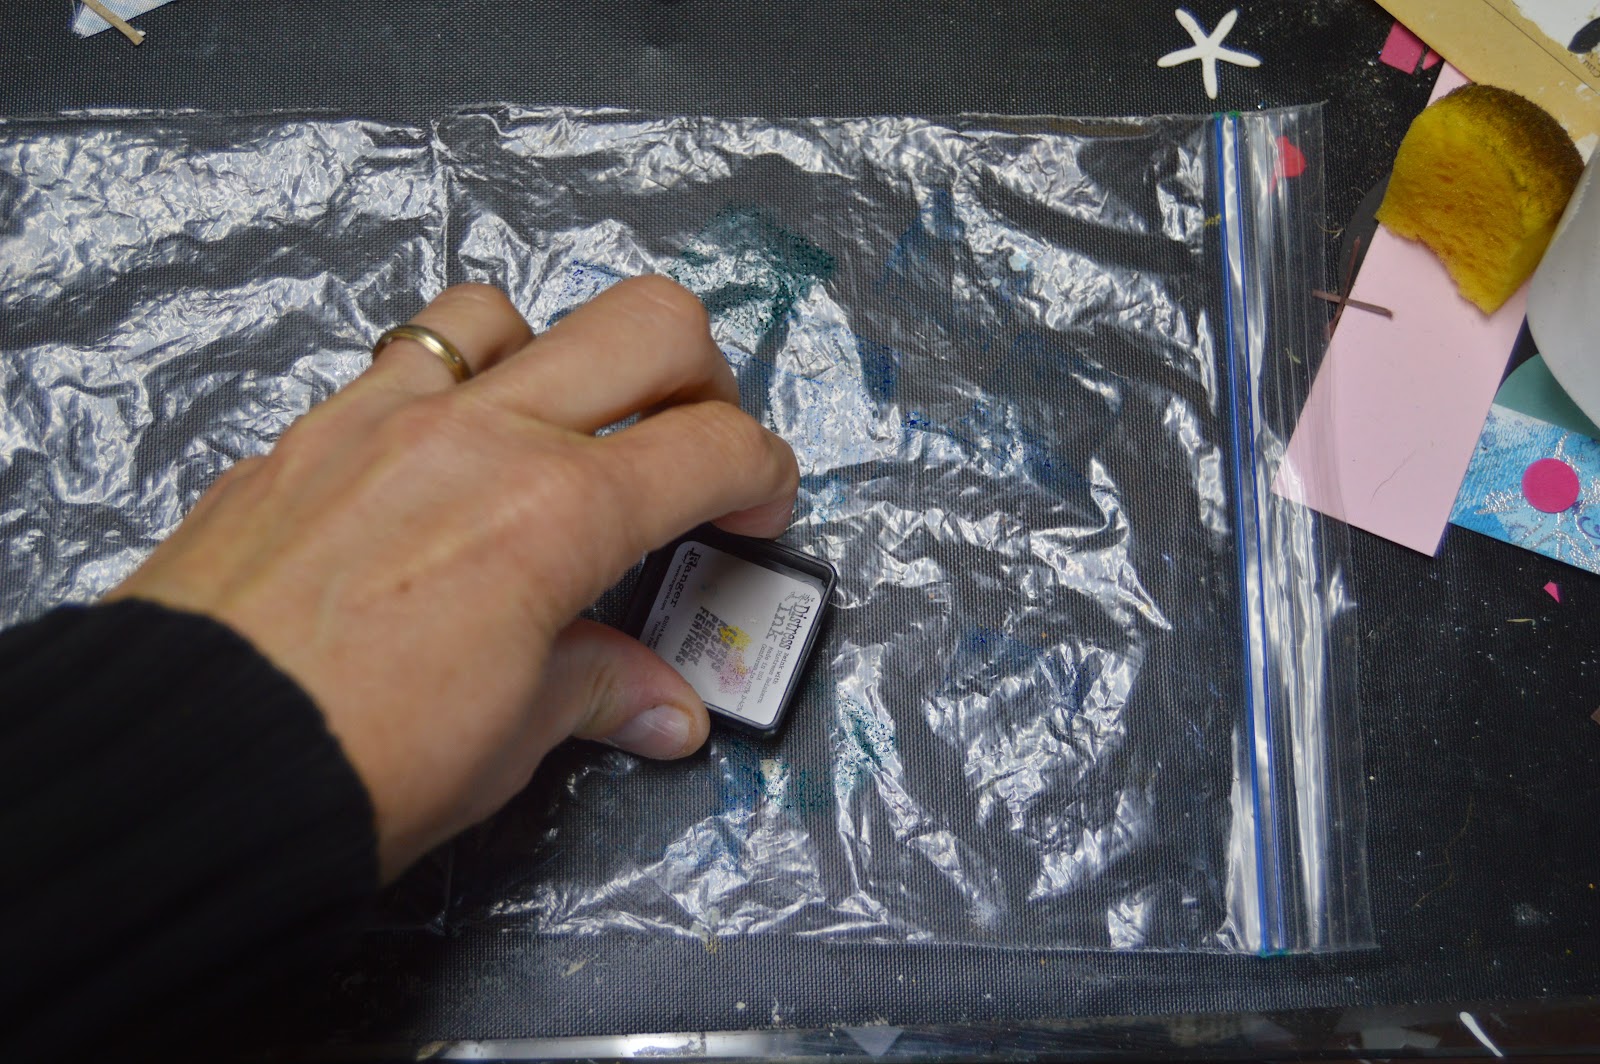
In order to make the deckle edged mask, I penciled my desired space on my large post it note. I then folded this so that the edges of the penciled area matched and then cut out the inner piece using the decorative edge scissors. 
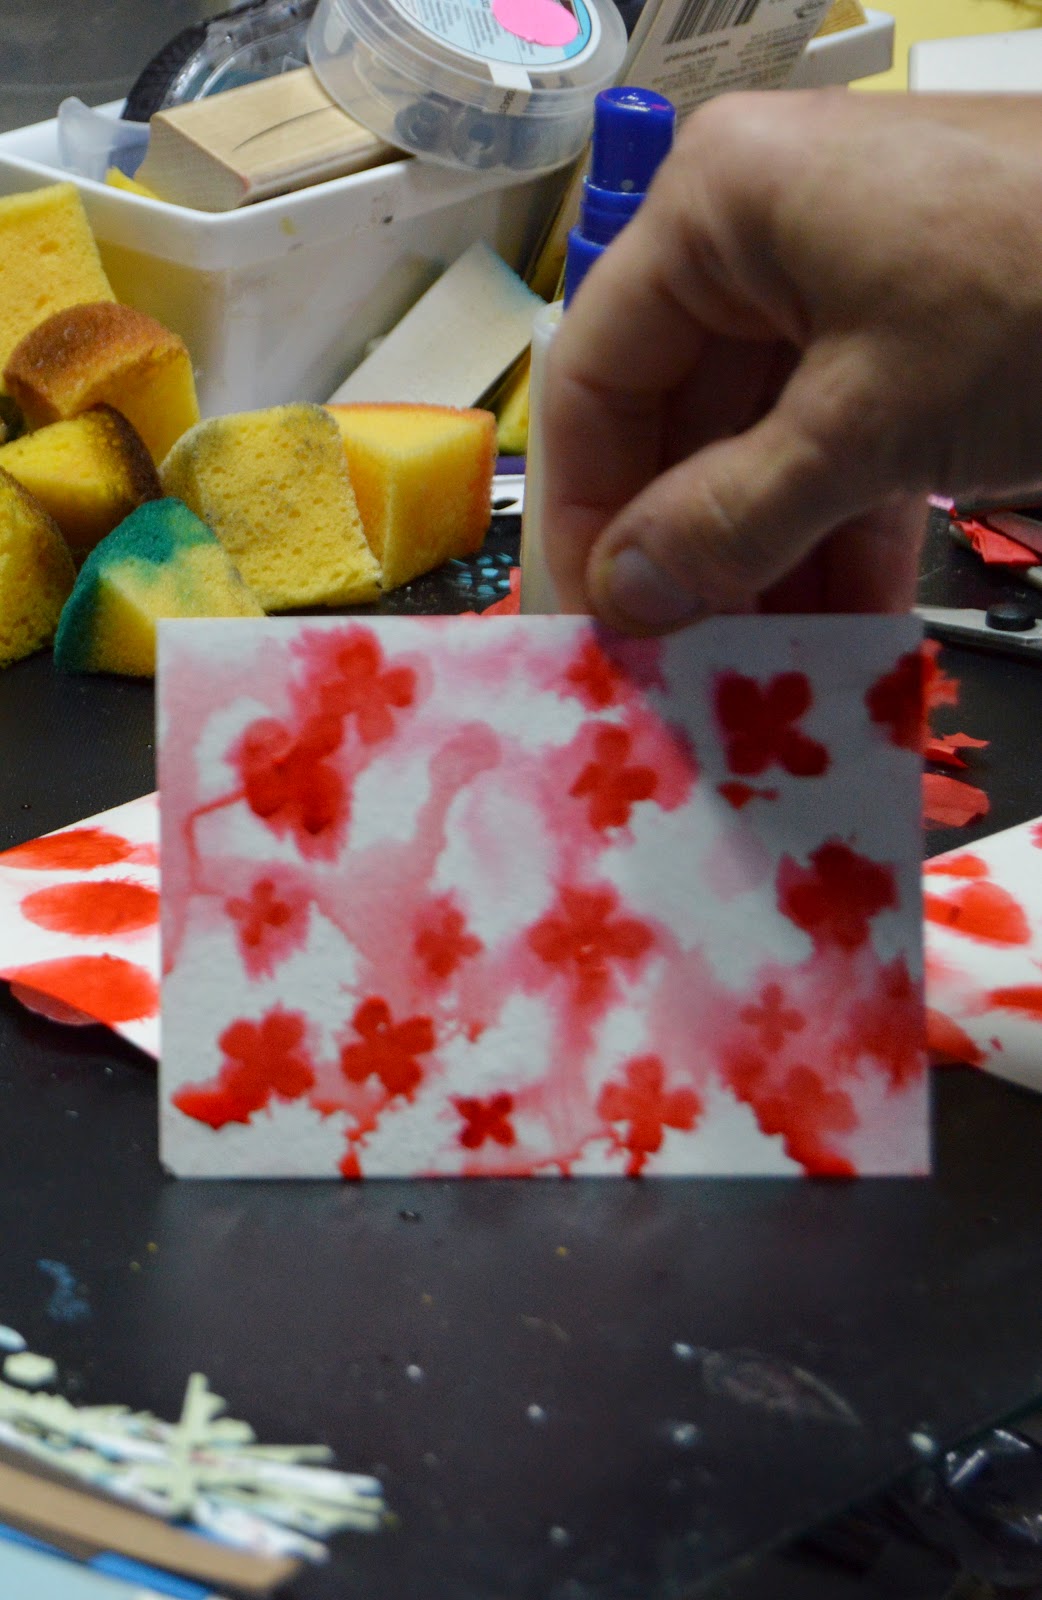
With my mask in place, I sponged the Coastal Cabana. I inked this leaf stamp in Olive and added some black. I also stamped a couple more leaves in stamped off Cabana before removing the mask.
Here's a closeup of the leaves stamped over the sponged and stamped area. I inked my sentiment using markers to omit the tag shape around the edge. I can't believe how different this sentiment looks stamped this way!

Thursday, May 21, 2015

Bleeding for Clara

     I know it's a strange blog title....today's ways to use it challenge is to use red and white in honor of Clara Barton. She's actually one of my heroes right up there with Florence Nightingale. In my life before kids I was a nurse. I had a chance to put that nursing into a little action last week as I spent it with my mom for her hospital stay for a craniotomy to remove another metastasis from her breast cancer. 
Here we are a couple of days post-op....already up and playing a game of Scrabble! Mom's a nurse too!
I'd pinned a technique to try quite a while ago but didn't have the right tissue paper. I made an attempt with regular tissue, but the colors don't run. Here's the link to the Tissue Painted Canvas I'd pinned originally. 
Pardon the messy desk-here are the first two I did. I started with the flowers and had a bit more run than I envisioned. I kept the paper flatter for the heart and circle pieces.

Since this one had run anyway, I went ahead and added more water and moved the drips around on this one. I'll add a photo back later, but since I dried the piece with my Embossing Gun with the flowers in place, you can still see the outline of the flowers even with all the extra run.

Here's the card I finished. I still have the other two pieces to play with later. I made a simple tilted panel layout and stole a piece of trim off a tag I'd made and used at Christmas time. My sentiment is embossed by inking first in Versamark and then Real Red and then embossed in clear ep. I added a bit of highlighting to the circles with my SU Chalkboard Marker.


Tuesday, May 5, 2015

Cheater's Bow and Sailor's Knot....feminine and masculine sides!

    I'm so excited to be back on the splitcoaststampers Sketch Challenge Design Team again. So much fun! I really do love using sketches and seeing how versatile they are as folks put them to use. I created two very different cards even though I stayed quite true to Cathy's lovely sketch for today's challenge.

This feminine card uses today's color challenge colors (Crushed Curry, Melon Mambo and Tangerine Tango) with green added (Pear Pizzazz and Old Olive stamped and Mossy Meadow paper)Stamps: Lotus Blossom Paper: Crushed Curry, Melon Mambo, Tangerine Tango, Mossy Meadow, Whisper White Ink: Crushed Curry, Melon Mambo, Tangerine Tango, Pear Pizzazz, Old Olive Accessories: Circle punches, Tiny Triangles ef, More Mustard Ribbon, Stampin' Dimensionals Techniques: 2 step stamping, Stamping Off, Cheater's Bow

Read more:   http://www.splitcoaststampers.com/gallery/photo/2630191#ixzz3ZJTmVZsR


Here's my masculine card that was inspired by the colors in these
pillows from Saturday's Inspiration Site Novica. I'm a sucker for blues and the gray and green all pulled together.
I watercolored in the subtle blues and greys by scribbling with markers on acetate  and using a wet brush to pick up the colors and paint onto my stamped image. I went to Barbara Anders blog Paper Pursuits for the sailor's knot tutorial. I found this cool thick jute the other day. I ended up popping my panel over my base and double popping the sentiment

Stamps: Coast to Coast, Hello Sailor, Family Reunion, All Year Cheer II Paper: Not Quite Navy, Lost Lagoon, Mossy Meadow, Smoky Slate, Whisper White, Basic Gray, Bermuda Bay (on inside) Ink: Island Indigo, Smoky Slate, Memento Black Accessories: Paintbrush, Jute, Circle Punches, Houndstooth ef, Sponge, Stampin' Dimensionals, Markers: Soft Sky, Marina Mist, Lost Lagoon, Tempting Turquoise, Island Indigo, Mossy Meadow, Smoky Slate, Basic Grey Techniques: Stamping Off, Markers on Acetate, Sponging, Dry Embossing, Sailor's Knot

   Read more:    http://www.splitcoaststampers.com/gallery/photo/2630235#ixzz3ZK1E89BJ

Here are the directions for the cheater's bow. I like this bow for several reasons: I'm bow challenged, this bow lays nice and flat, it uses very little ribbon, and because it isn't super fancy it can be used on either masculine or feminine cards.

Cut a piece of ribbon a little longer than the piece you'll attach it to. Tie it into a knot, but don't pull it tight. If you want the bow off center, make sure you tie the knot to that side.

Cut a small piece with diagonal ends and slip it into your knot.

Now you're ready to pull the knot tight.

I wanted a bit more color on this sentiment which is stamped on a 1" circle so I punched a 3/4" circle out of a piece of sticky note and used that as a stencil.

I sponged through the hole in the sticky note with Crushed Curry
I can't believe how much easier it is to line up the multi-step stamps in the photopolymer!
Hope you have lots of fun using this sketch. Can't wait to see what you all come up with!


Friday, May 1, 2015

Ink Smash Sandwich


Here's my final card-I had the sentiment piece sitting on my desk as well as the diecut anchor and that's what drove my card in this direction.


I used my Distress Ink ink spots to add the colors onto my plastic bag which was cut open.

I sprayed the ink liberally with water then closed the bag and smashed it together to mix the inks around.

I put two pieces of cardstock into the bag and closed the plastic around them.

Here's what the first piece looked like

It had a few blank spots so I dipped it back into the ink

I dragged it along and pressed onto spots that needed more ink

One card base and one card front from one application of ink

I dragged my anchor piece into silver ink and then embossed it with and ep mix

Used my scissors to distress the twine