Pages

Monday, April 27, 2015

Two for One....AKA I hate waste!

These are two cards made from the same elements with different layouts. I also gained the stenciled element for the second card by cutting from the first.
 Stamps: You're My Type, Tim Holtz-Mini Blueprints Paper: Lost Lagoon, Recollections white and black, SU grid paper Ink: Lost Lagoon, Memento Tuxedo Black Accessories: Lost Lagoon Marker, stencil, Recollections brad Techniques: Tearing, Stencil Monoprint

                                                         Read more:    http://www.splitcoaststampers.com/gallery/photo/2627977#ixzz3YWJeA7s5


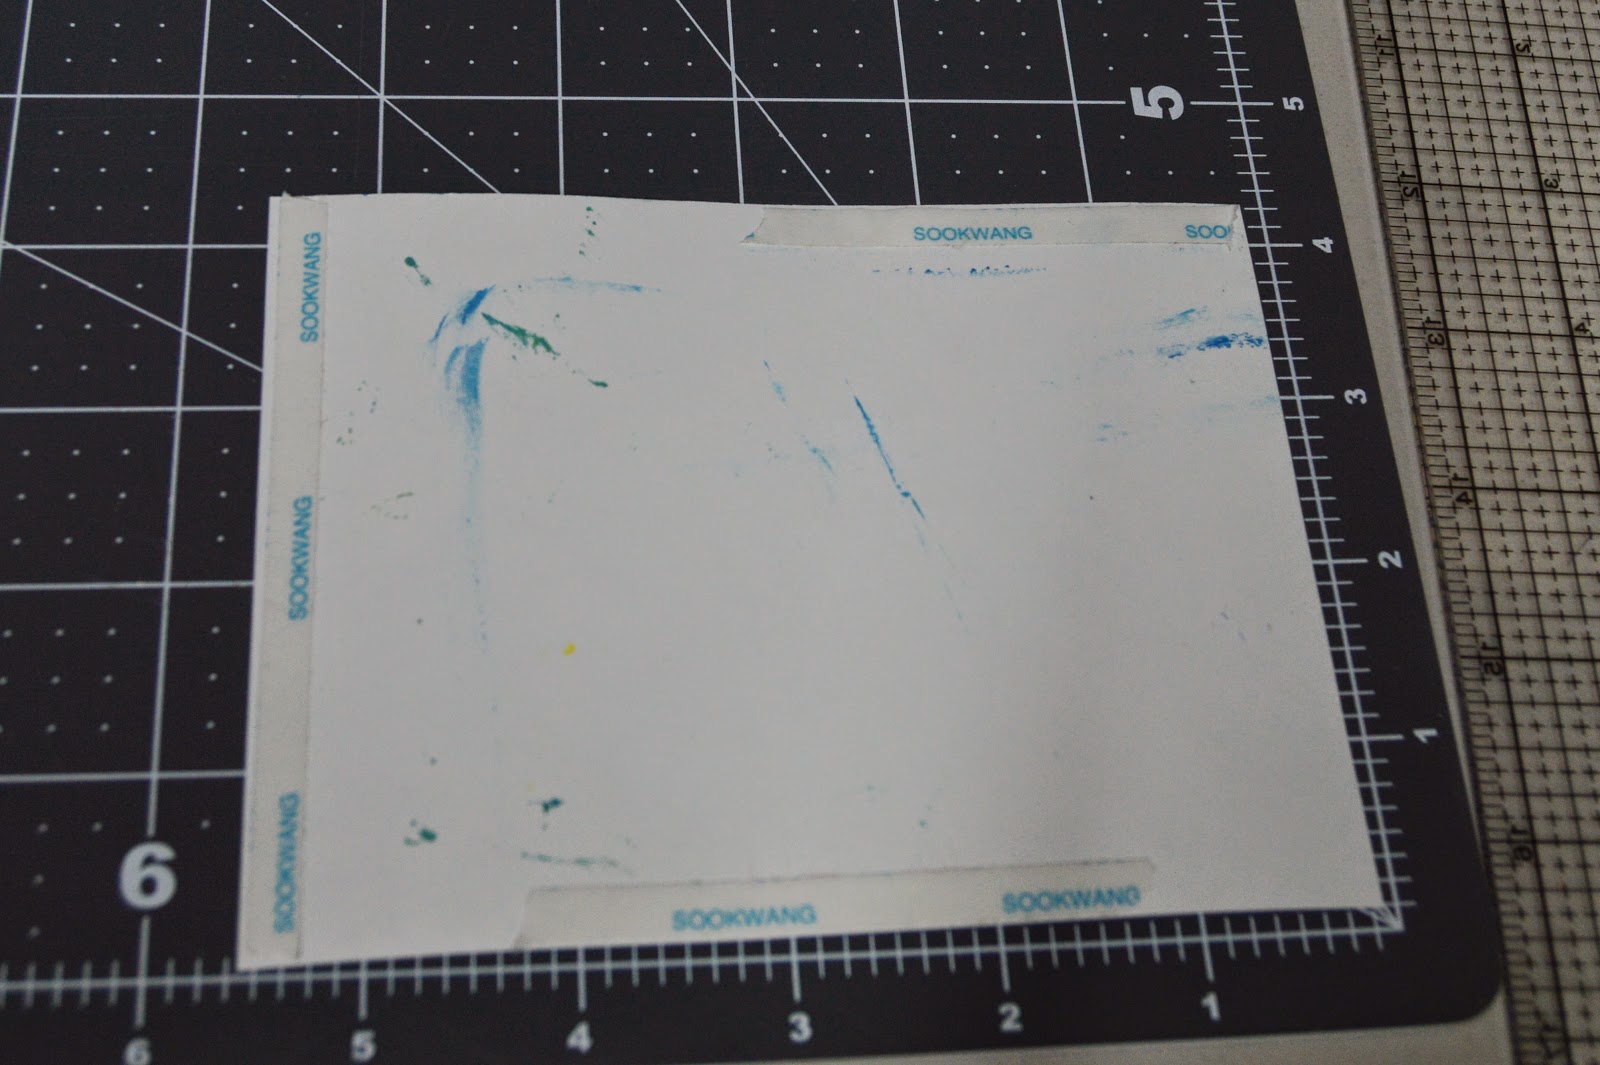
Here's a peek of the backside of the layered pieces and the base monoprint with the center cut out. I cut almost all my card bases and pieces with my tabletop cutter these days, but I use my smaller Fiskars cutter to cut out the insides. I also often use punches in the middle of layers that will be mostly covered as well. I'll find a use for that circle someday! ;)

Here you see that monoprint piece put to work on a second card.

The first card (I've also reused some used SU grid paper from the party I had during SAB to stamp my cupcake on).
Here's another look at the second card.

Thursday, April 23, 2015

Sing A New Song

I made this card today using this week's sketch from splitcoaststampers. I loved the Washi tape framed bird from this pretty card and CASEd the idea.Stamps: Young Vermillion, Music Notes Wheel (inside) Paper: Sahara Sand, SU dp, Pirouette Pink, Wild Wasabi Paper Size: A2 Ink: Memento Black, Sahara Sand, Wild Wasabi Accessories: Jewelry Tag and Banner Punch, Blushing Bride Pleated Ribbon, Stitched Wild Wasabi Ribbon, Linen Thread, Markers-Wasabi and Pirouette, Stampin' Dimensionals, Washi Tape, Sticky Strip, glue dots Techniques: Crumpling, Sponging, Distressing

Read more:   http://www.splitcoaststampers.com/gallery/photo/2627111#ixzz3YAgqPR2j
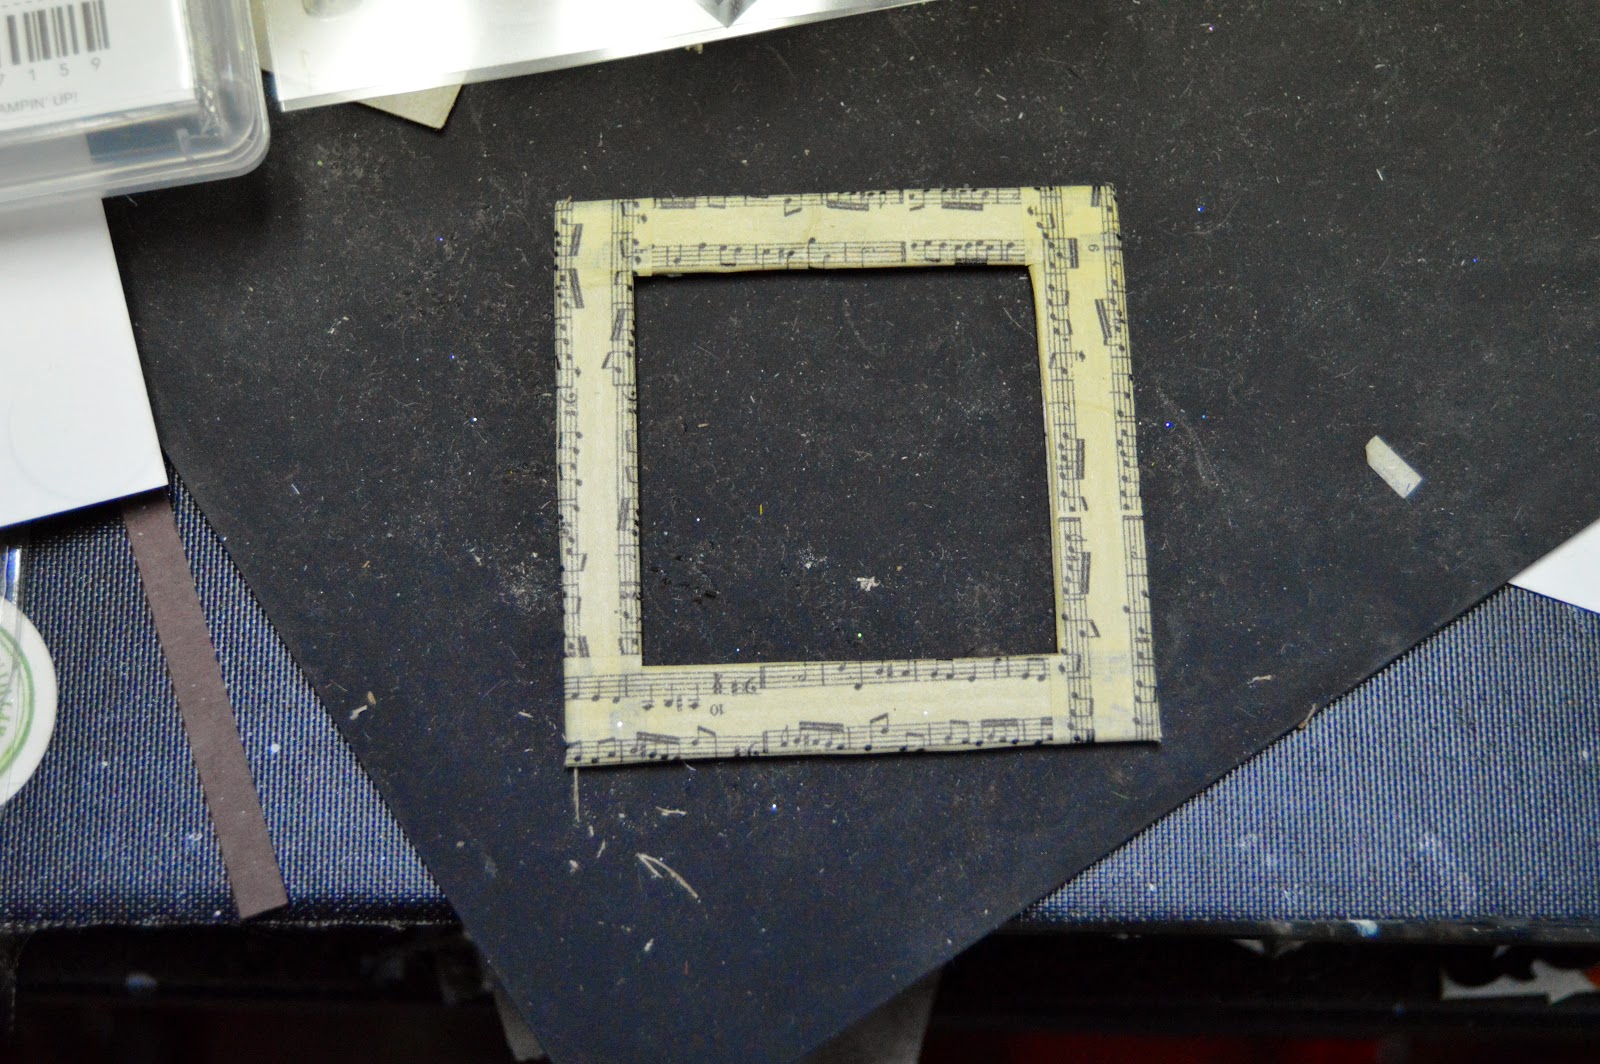
I cut my frame in cardboard then laid it down over Washi tape snipping the corners for flat layering.

I used sticky strip to seal over the edges of the Washi since there wasn't much overlap.

Here's the finished frame. I went on to add the pleated ribbon to the inside of the frame.


Wednesday, April 8, 2015

Limited Supplies Challenge

I'm in the midst of a self-imposed limited supplies challenge while I'm away from my stamp cave for a few days. Wish I'd taken a few more minutes to pack more thoughtfully, but hey, that's what makes it a challenge right?
This one took a card front that I made the other day for the inspiration challenge. This one was too crooked, but I couldn't juast tosTs it as I'd put so much work into it. I simply angled the piece on my cutter so that the verse was straight then cut the other edges to line up. Added some twine after sponging the edges again and put it onto a base.

This one features  today's sketch. One of the things I brought along was a bag of leftover pieces from a long ago set of card making pieces using a template that originally made 60cards from one SU scrapbooking kit. One of the cards was a split card design that matched today's sketch. I fussy cut leaves from the dp to add some oomph to the center oval. I also sponged in Suede along the edges.

 w

Thursday, April 2, 2015

Gelli Print Jelly Bean Containers


Aren't these a fun way to use Gelli plate prints! I wanted to load up some jelly beans and M&M's to put in my kids' Easter bags.
I cut the prints in 4 1/2"x 5 1/2" pieces. I gathered ink, coordinating paper and stamps to get ready.


You'll also need a crimper and some strong adhesive tape (I used Scor tape since you don't need scissors to cut it).

On one of the short sides add tape along the edge. On one long side, put a piece of tape about 2 1/4" long across the center of the side. Add a piece the same length on the opposite long side in the corner opposite your other tape. 

Remove the protective paper from all the pieces of tape. Bring your opposite short side up even with the edge of your adhesive.

I've turned this around in my hand unfortunately, but you're rolling the side with the adhesive over the print side of the piece you brought to the edge of the adhesive. With your thumb inside the roll, smooth down the top piece with a finger.

Find the side with the tape across the middle and position it like this and then squeeze together. 

Place the glued end into the crimper and roll about 3-4 notches.

Ready to fill!

Once you've got your candy inside it's time to seal this side. Note that the adhesive side is perpendicular to the crimped bottom.

Squeeze shut.

Now crimp this end 3 notches.
To help me get my ribbon in place, I added a bit of adhesive to the back side and laid the middle of my ribbon over this.

I started my knot...

I then pulled the ends through my slot.
I pulled the knot through the slot and then tied the bow.

Wednesday, April 1, 2015

Punch and Pleat Sketch

     I hadn't had a chance to play along last week with the technique challenge to punch and pleat a strip to attach to our projects. When I saw today's sketch on splitcoaststampers sketch challenge, I thought it would be perfect for adding such a strip. 


I used my CM border cutter to add the wavy edge to my Kraft dp


I punched a piece of black then scored between the scallops and also cut partway down at the same intervals. I then just sort of winged my way through pleating. I used Scor-tape on the back of my wavy edge to attach the strip. I popped the panel over the card base.
Here's the final card with my sentiments embossed in black.   Stamps: Little Yellow Bicycle: Faith Paper: Recollections Kraft, Black, and Kraft dp Paper Size: A2  Ink: Versafine Onyx Accessories: Black ep, Scallop Trim punch, Scoring Board, Scor-Tape CM border cutting tool, Foam circles Techniques: Punch and Pleat, Emboss

Read more:   http://www.splitcoaststampers.com/gallery/photo/2621402#ixzz3W5h4ywfD